
This easy and fun wall hanging is made using salvaged, repurposed lath.
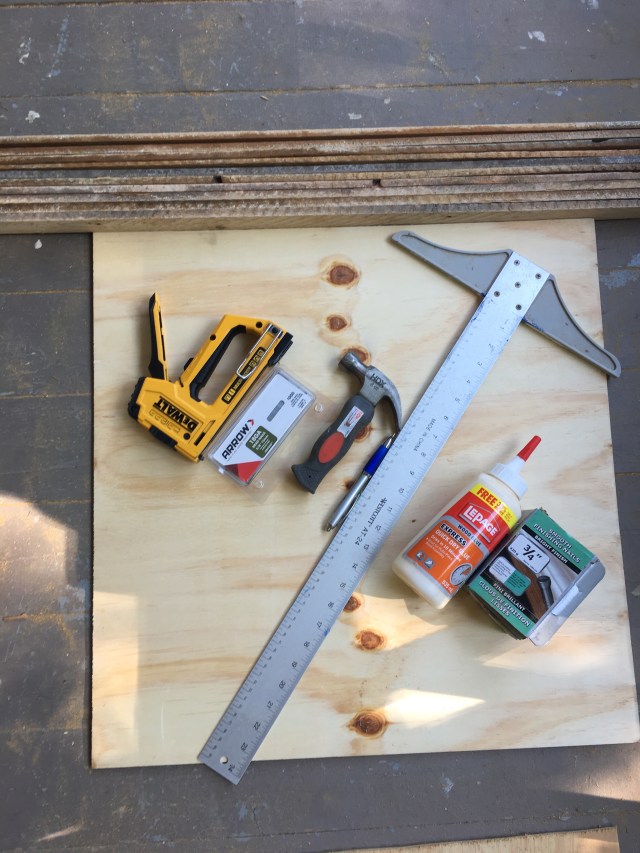
- Wood lath
- Wood glue
- 18 Ga brad nails
- Staple gun
- 3/4″ finishing nails
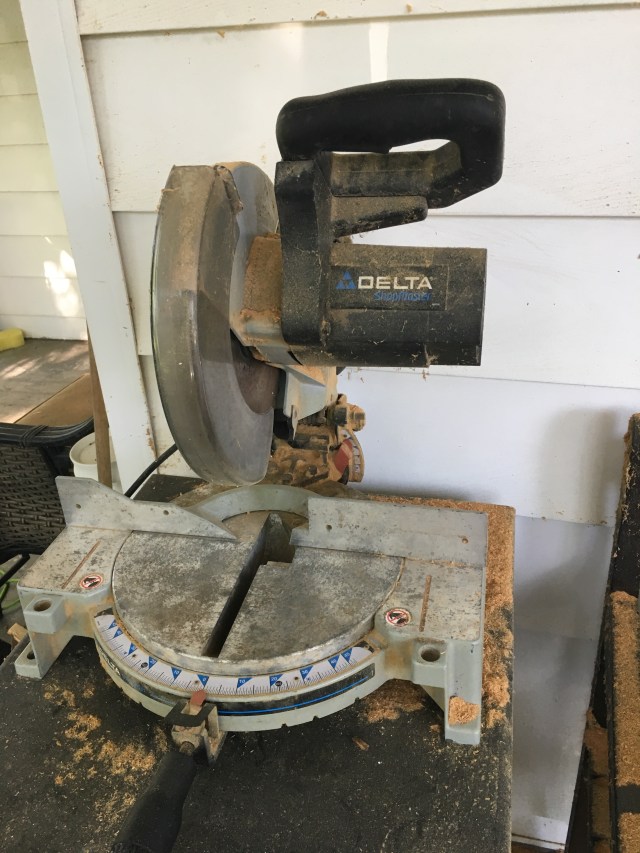
- Chop saw
- Hammer
- Jig saw or table saw
- T square and pen or pencil
- 24″ by 24″, 1/4″ thick fir (backing)
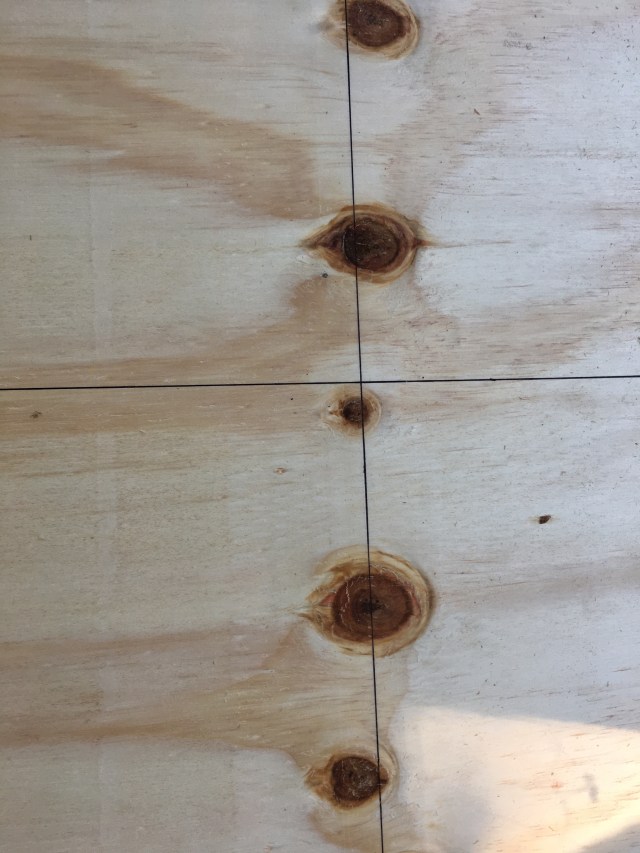
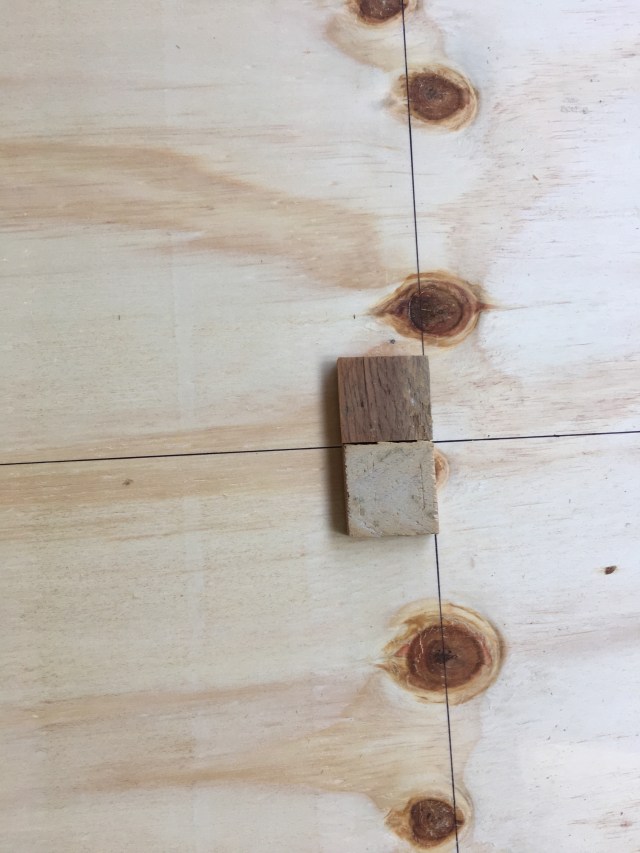
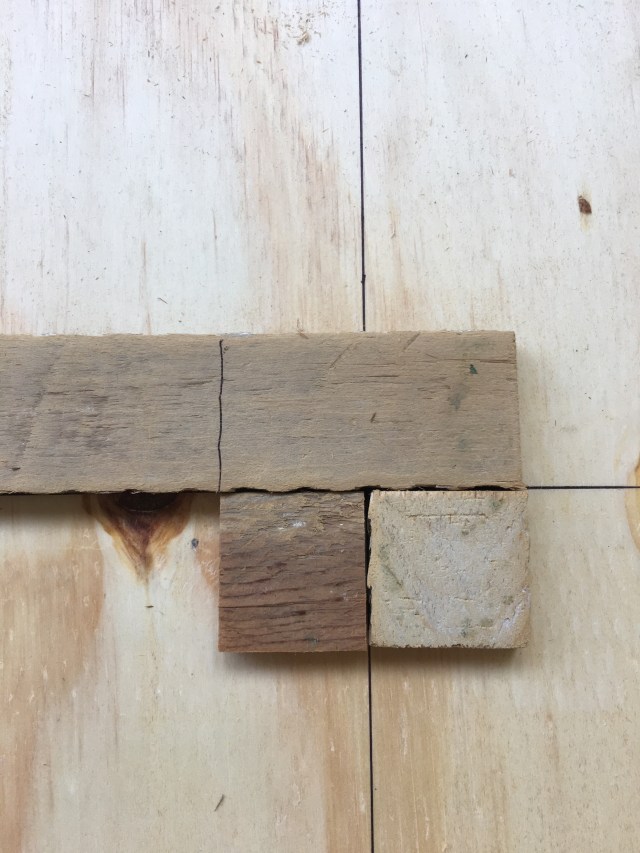
Your first two pieces of lath need to be square. You need one square with the white side showing and the other square raw side showing. Because lath comes in various sizes, I measure. So my pieces were 1 1/2 inches and I made my cut lines at that measurement. At this stage we are just placing the pieces into spot, Do Not Glue down yet!
Now I am placing another piece of white lath and marking my cut line, as shown above. Cut along the cut line using chop saw and put into place. Again no glueing, that will come after all pieces have been cut and placed correctly.
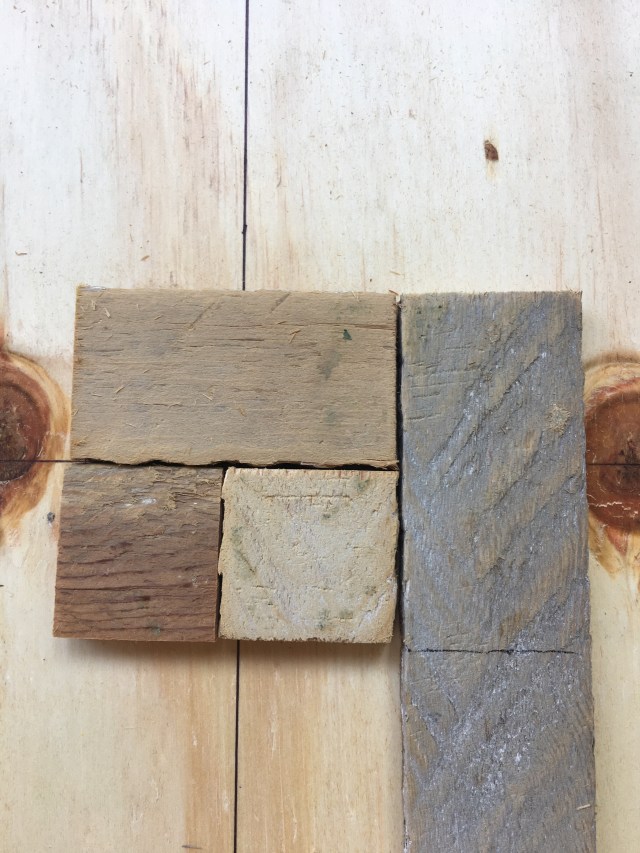
Here I am showing where the next piece of white lath will be placed. Again line it up, mark and cut as shown above.
Next piece of lath is raw side up. Line up and mark as shown above. Cut the lath along your cut line and put into spot.
Next piece is again on the raw side, put into place marked and cut. As you can see we are basically working around our initial 2 squares, going round and round out towards the sides of the backer board.
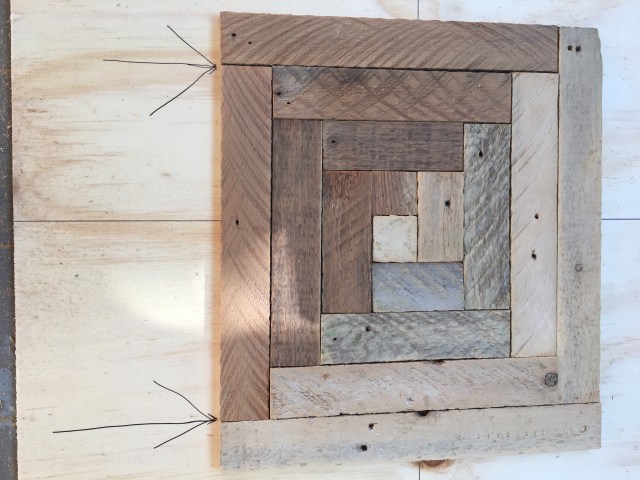
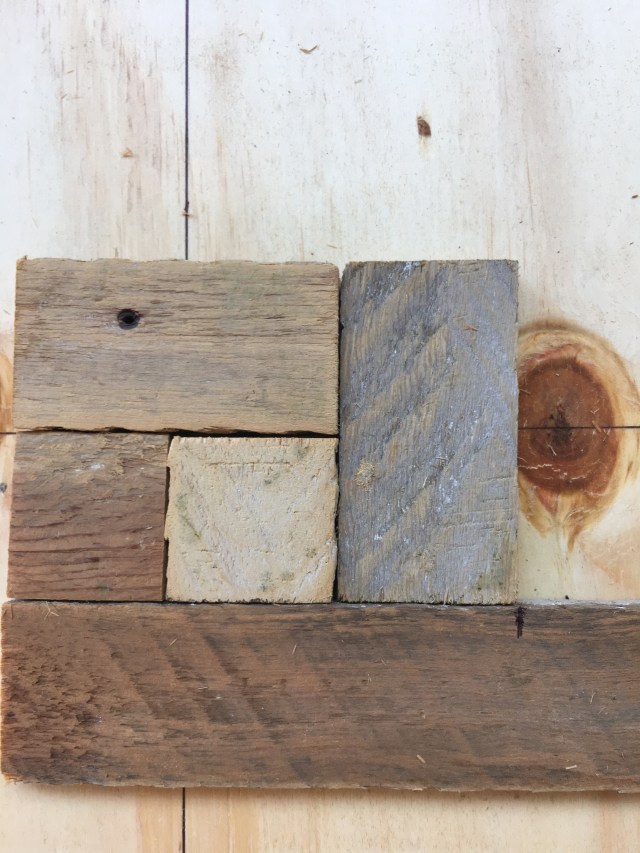
Your going to keep going working around your piece. If you forget which side is next simply notice where 3 wood pieces are meeting together, that’s the side that needs the next piece. As shown above with the arrows.
Once you are down to your last pieces, you may need to adjust your centre. I simply put the next piece down and gently push it up till it is flush with the edge of the backer board.
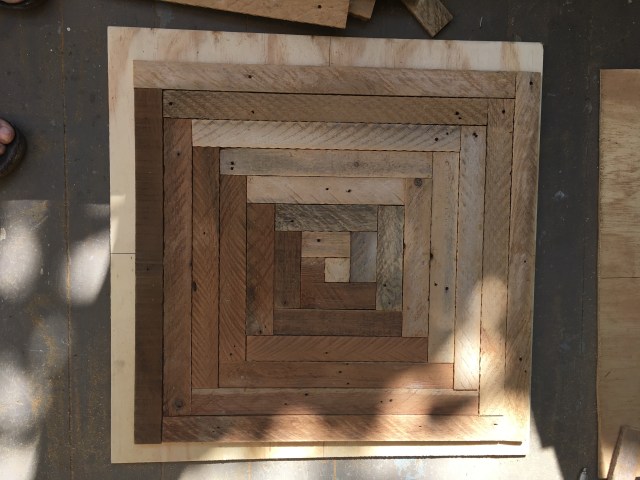
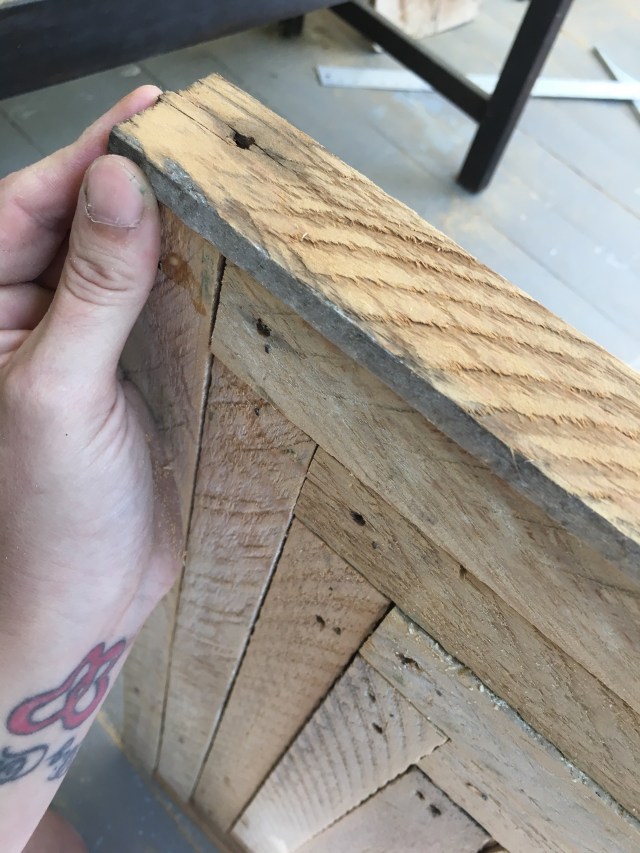
Here I am showing the small piece of backer board left showing that will need to be trimmed off once all pieces have been secured down.
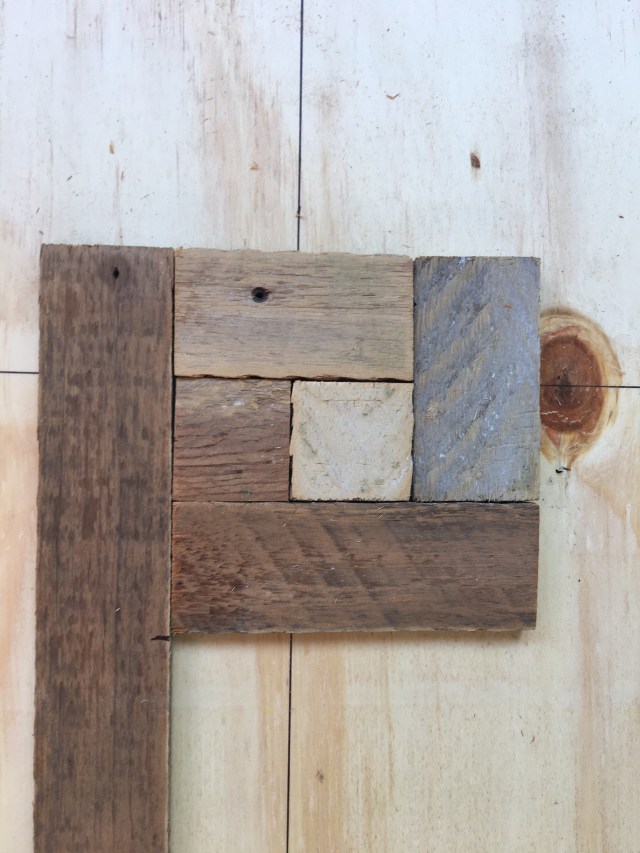
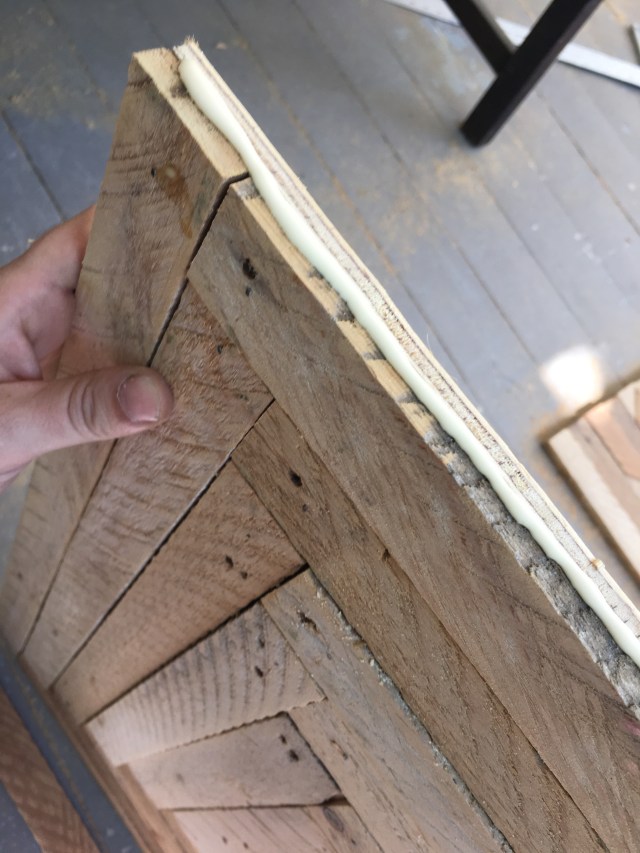
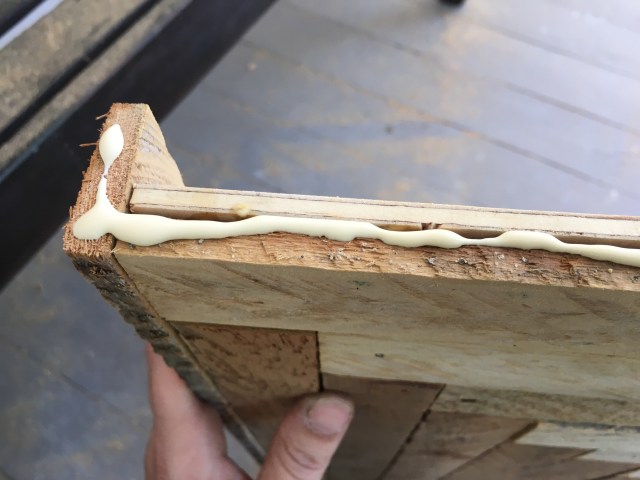
Here is where we begin to glue the pieces of cut and fit lath to our backer board. I like to start in the centre and careful not to disturb the surrounding pieces I pull up one piece at a time, glue and replace.
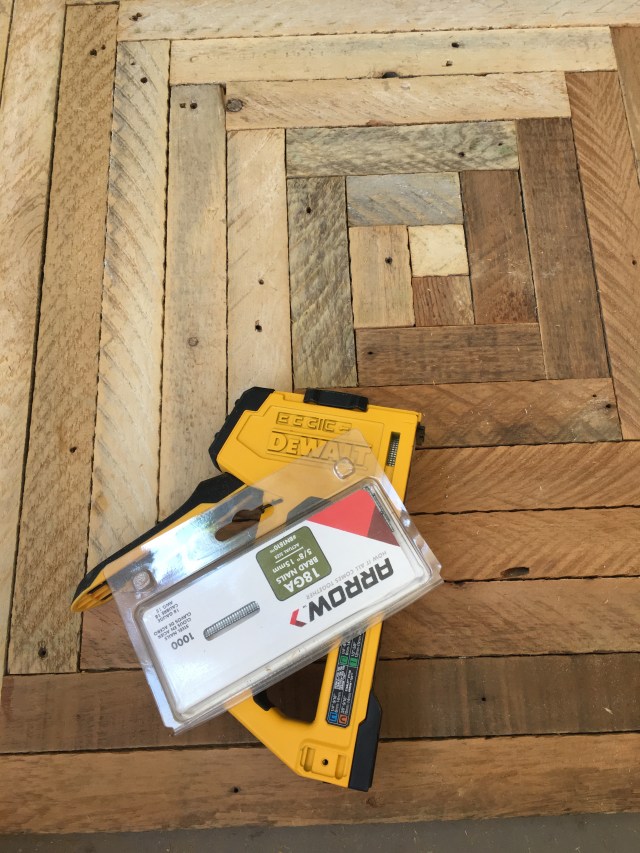
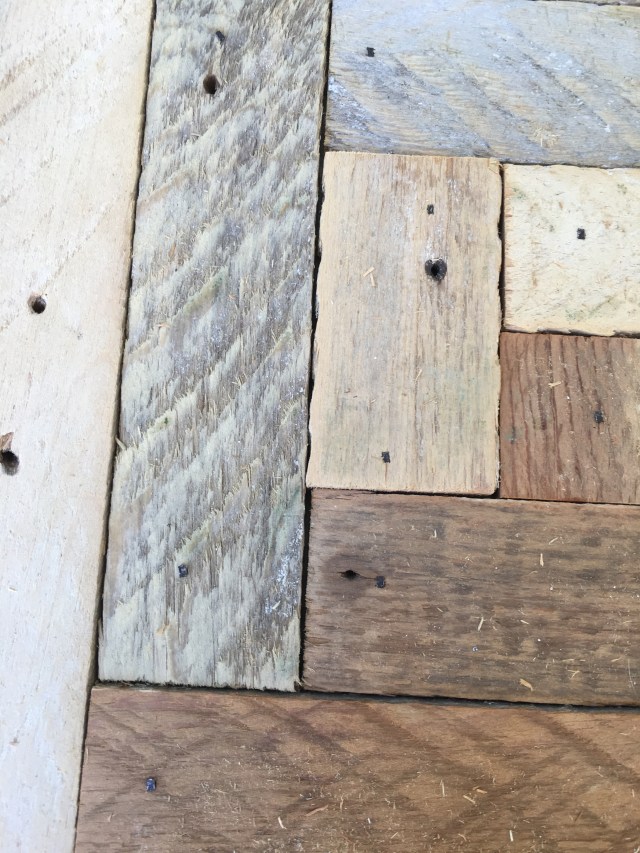
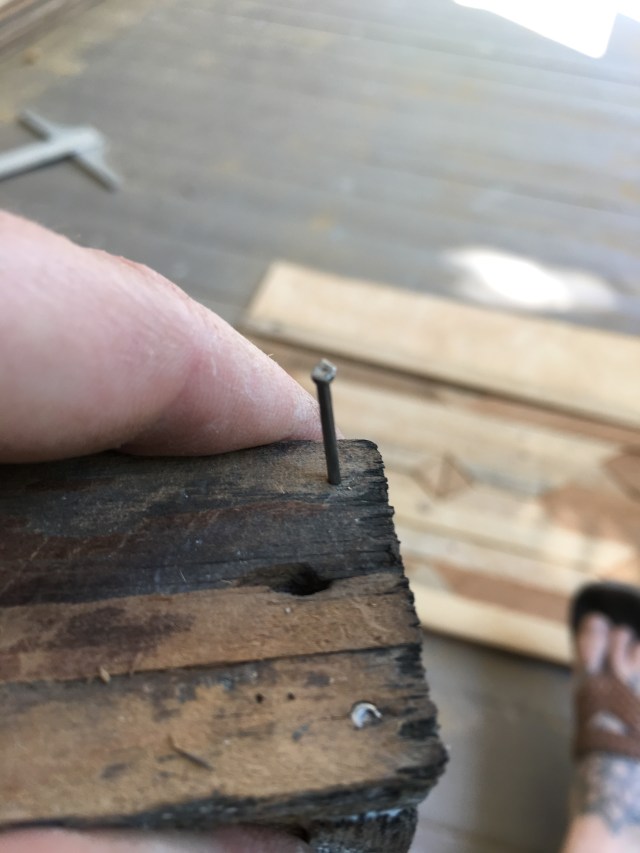
Once all pieces are glued down to the backer board I use my staple gun with small brads. I put one brad nail in each of the center squares and 2 nails in all other pieces, one on each end.
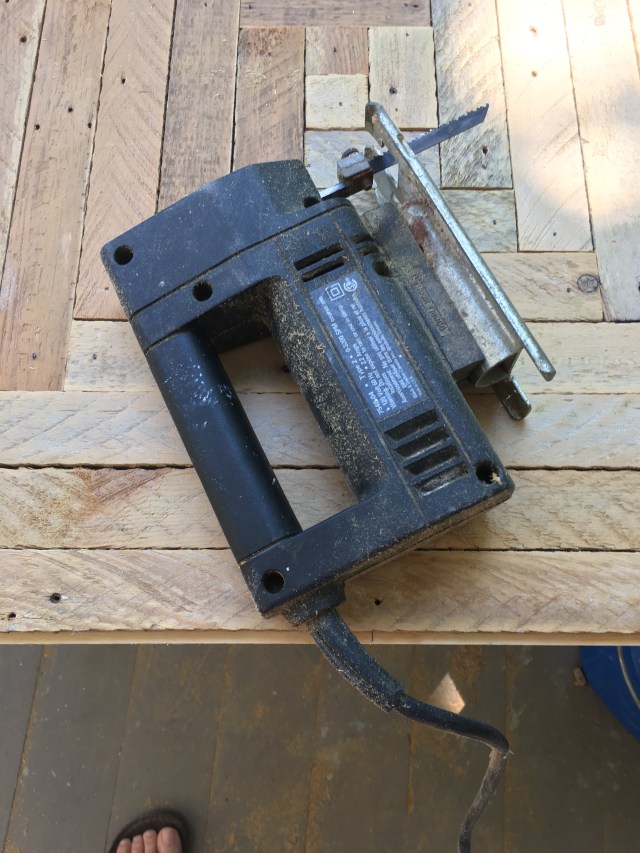
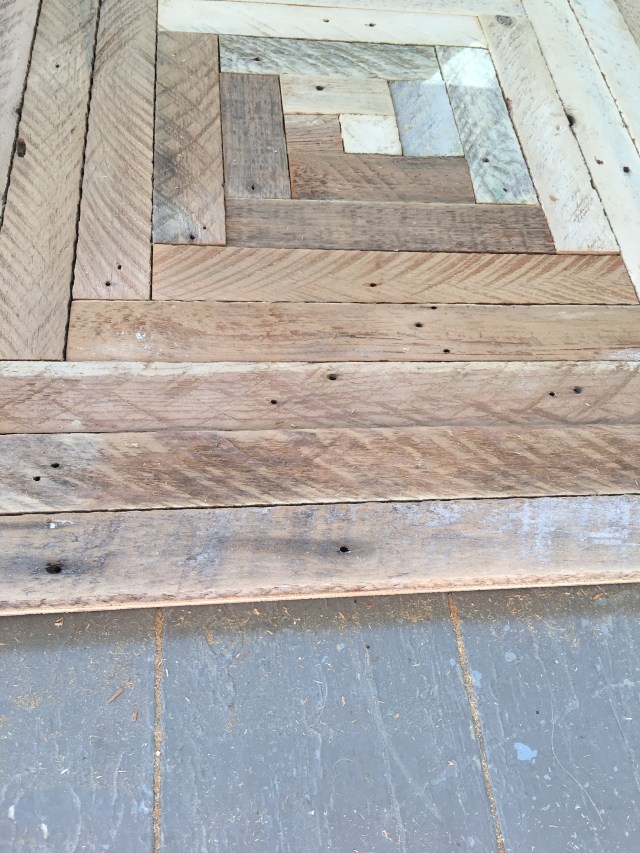
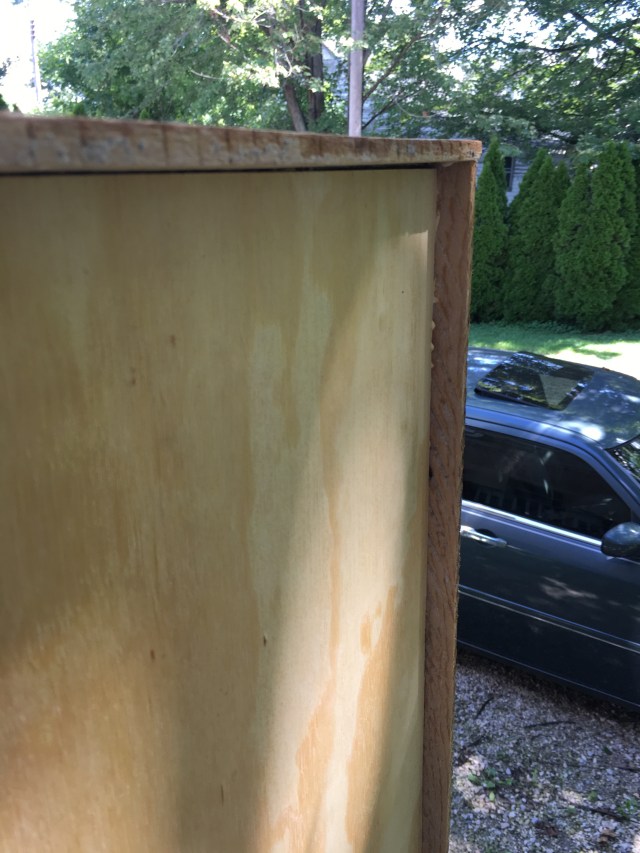
Now I use my jigsaw to clean up all the edges of the backer board, so the everything is flush together.
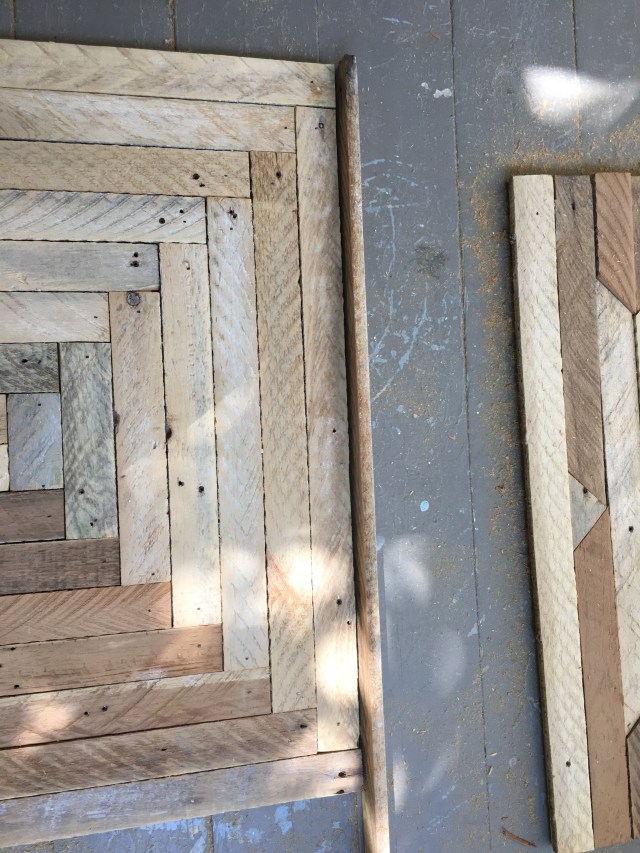
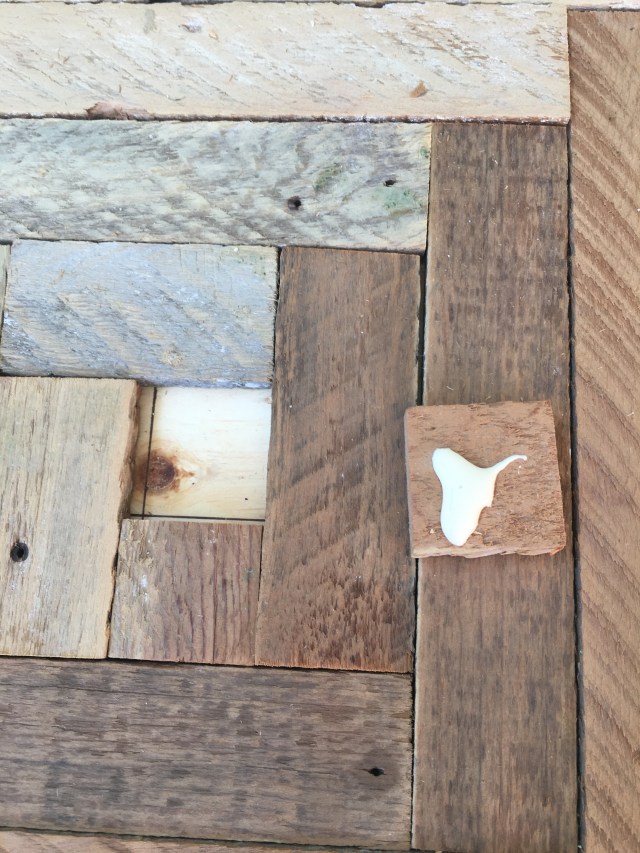
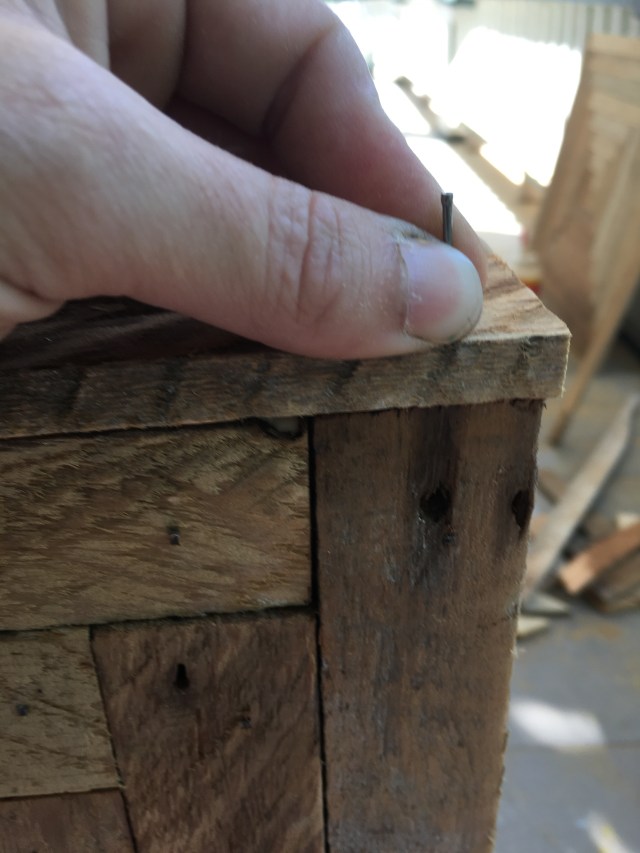
Here I am lining up and marking my first piece of trim that will act as the frame. Mark flush to your piece and cut.
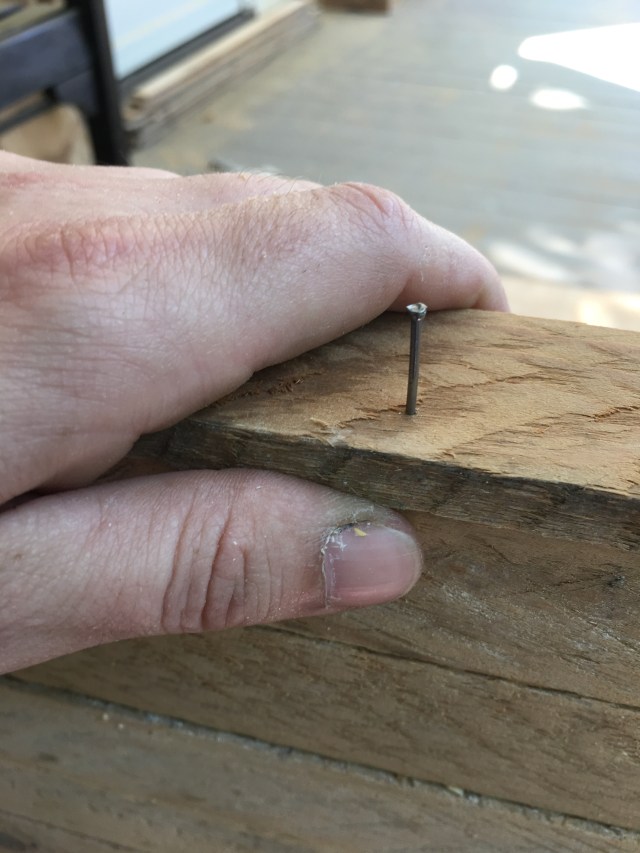
Holding the piece vertically, I add glue, position the piece of lath and nail all along with 3/4″ finishing nails.
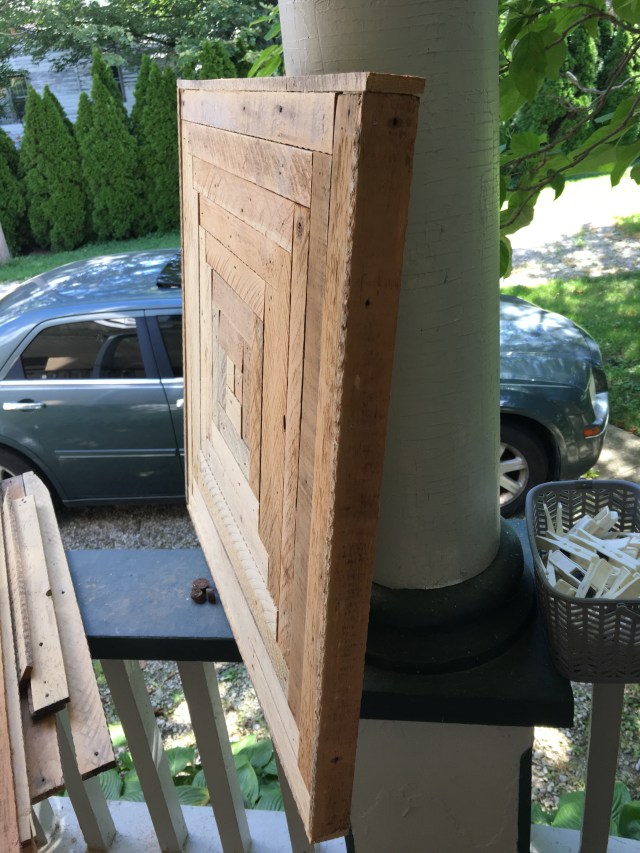
Continue until all four sides are framed in.
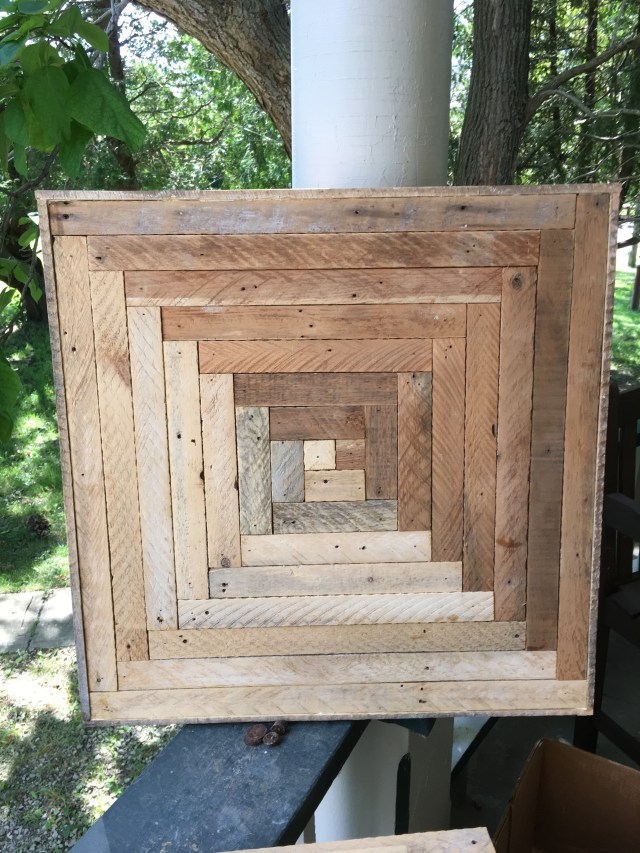
This is what the finished product should look like.
